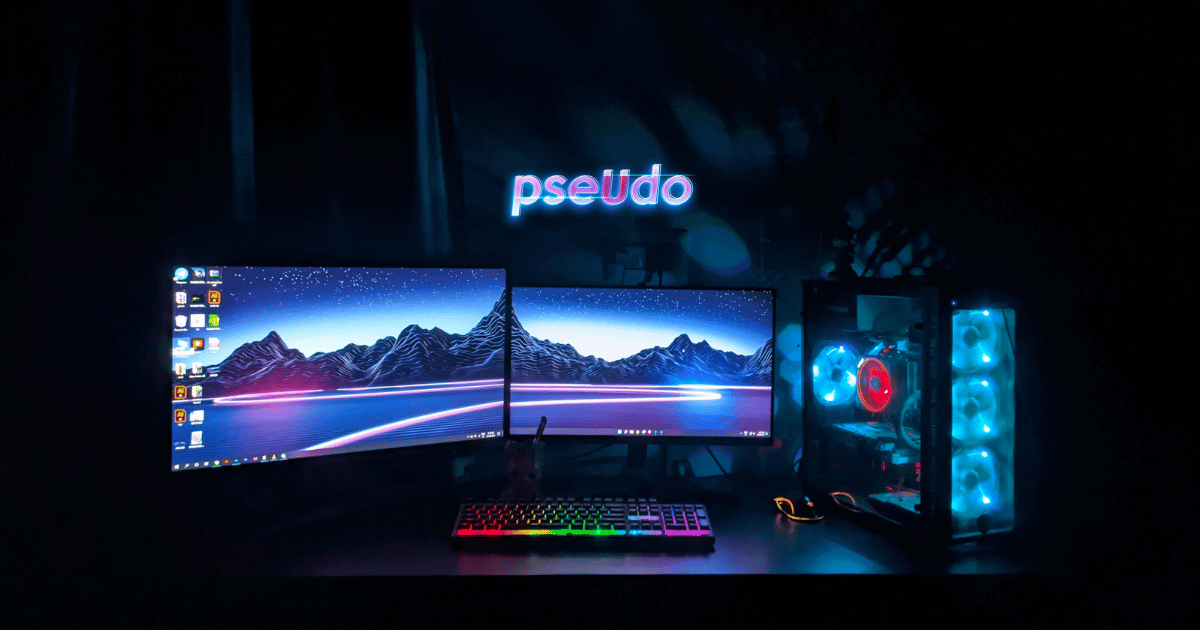
Having multiple monitors simplifies many aspects of everyday computer use, but it also brings with it new challenges. One particular issue that arises is when taking screenshots.
While capturing your all screens is straightforward, snipping a specific part, especially from one monitor in a multi-monitor setup, can be tricky for some people.
This guide will walk you through the easiest and most effective ways to capture exactly what you need from your chosen screen, ensuring that you can tackle this modern tech challenge with ease.
Easy Screenshot Shortcut
The most straightforward method to take a screenshot of a single monitor is using the Ctrl + Alt + Prnt Scr keys. This method is particularly efficient for quickly capturing the monitor you’re actively using.
Simply make sure you’re interacting with the monitor you want to capture, then press these keys together.
The screenshot of your active monitor is instantly captured and can be pasted and saved from your clipboard. This approach is ideal for its simplicity and speed, making it a great starting point.
Another great shortcut that you can use is by pressing Windows Key + W. When you use this shortcut, you’ll notice two options appearing at the bottom right of your screen.

One allows you to launch a whiteboard, while the other enables you to capture a screenshot of the monitor you are currently working on. Simply click on “Fullscreen Snip” to take a screenshot.
Once you do that, a new window will pop up with your screenshot in it, you can either edit it using the “menu 1” represented in the image below, save it, copy it to your clipboard or share it using the “menu 2” on the same image below.

Windows Snipping Shortcut
Another simple way that I like using to take a screenshot of a single monitor is by using the Windows Key + Shift + S keyboard shortcut. This nifty tool is part of Windows, meaning there’s nothing extra to install.

When you press these keys together, a snipping toolbar appears, allowing you to choose from various snipping options. You can easily select the whole screen or just a portion of it, and once you’ve made your selection, the screenshot is copied to your clipboard.
From there, it’s just a matter of pasting it into your desired location, whether it’s an image editor or directly into a document.
P.S.: For those looking to optimize their workflow further, check out our dedicated article on how to automatically open Task Manager on the second monitor.
The Trusty Snipping Tool

Another method that works well is the Snipping Tool, a built-in feature in Windows. Though it requires you to open the program first, it’s still quite straightforward.
After launching the Snipping Tool from the Start Menu, you select the type of snip you want to make. You can then freely choose the area or monitor for your screenshot.
The tool also offers basic editing options, like adding annotations, which can be quite useful if you need to highlight something specific in your screenshot.
Third-Party Tool: Lightshot

For times when a basic screenshot just won’t cut it, Lightshot is my go-to third-party tool. It stands out because it allows you to add annotations, like arrows and text, directly on the screenshot. This is particularly handy for tutorials where you need to point out specific details.
Using Lightshot is a breeze: after a quick installation, pressing the Print Screen key lets you select an area on your screen and then edit it on the spot. It’s convenient for when you need to add that extra bit of information to your screenshots.
Conclusion
I hope this guide has resolved the puzzle of taking screenshots on a single monitor in a multi-monitor setup. With these straightforward methods, capturing exactly what you need should now be a breeze.
I’m curious to know which method works best for you, so feel free to share your favorite screenshot technique in the comments below.
We're an affiliate
We hope you love the products we recommend! Just so you know, gameraround.com is a participant in the Amazon Services LLC Associates Program, an affiliate advertising program designed to provide a means for sites to earn advertising fees by linking to Amazon.com.

