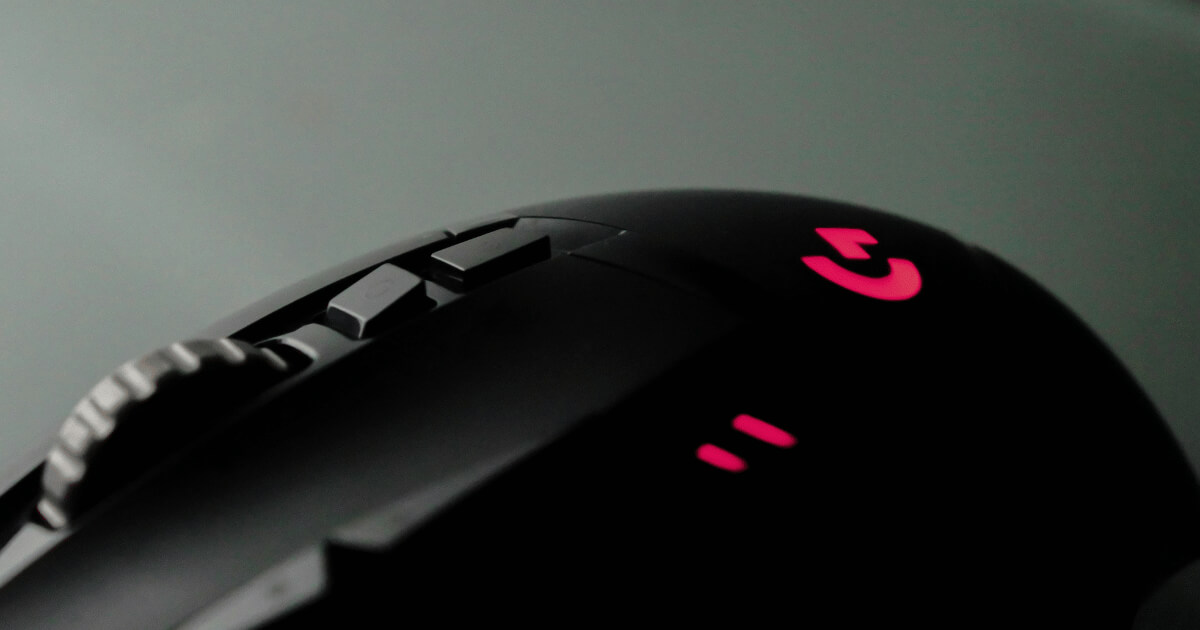
The Logitech G502 is one of the most popular gaming mice, but without tailoring its settings to your preferences, it won’t live up to its full potential.
The very first thing you should adjust is the DPI, as this impacts overall cursor movement and aim precision. Don’t worry, changing the G502’s DPI is simple.
In just three quick steps described in this article, you’ll have your mouse’s sensitivity configured for an optimal gaming experience. Without further ado, let’s get started!
Downloading Logitech G Hub

To change the DPI settings on your Logitech G502 mouse, the first step involves downloading the Logitech G Hub software. The latter is important for adjusting various settings, including DPI, creating macros, and customizing lighting effects.
To get started, follow this link or type “Logitech G hub download” on Google. Then download the tool from the official website.
Customizing DPI Settings with Logitech G Hub
Once you’ve installed Logitech G Hub on your PC, go ahead and open it. The software will show all the Logitech devices you’ve got connected. In my case, it’s just my Logitech G502 mouse that appears.

To change the DPI settings of your Logitech G502, start by double-clicking on it. Doing so takes you straight to the DPI page. There, you’ll find 5 different DPI levels to choose from, with the current one being underlined.

Now, all you need to do is drag the levels to adjust them to your preference. If you want to select a specific DPI, just click on the level you desire.
What we’ve covered so far is how to change the DPI settings for the desktop.
If you’re looking to use different DPI levels for other profiles, then look to the top right where you’ll see ‘Desktop’. Click there and select the profile whose DPI settings you wish to modify.

However, if you’re someone like me, who uses the same DPI across all profiles, there’s a handy lock icon on the top left. Simply click on it and your DPI settings will be applied across all other profiles.

As you’d expect, turning it off allows you to set different DPI levels for different profiles.
PS: If you prefer having just two or three DPI settings to simplify switching during games, you can remove the extra ones by clicking and dragging them out of the line. This way, you won’t have to cycle through too many settings.
You may also like: How to Turn Off Mouse Acceleration in Windows 10 & 11
Setting Up DPI Buttons for Quick Changes
While having different DPI levels to choose from is great, it can be inconvenient to adjust them through the software, especially in the middle of a game. That’s where setting up your DPI buttons comes in handy, allowing you to switch DPI settings on the fly.
By default, the Logitech G502 has its DPI buttons set to G7 and G8. These are the two buttons located on the left side of the left mouse click.

Right next to them, you’ll see indicators that show you the DPI level you’re currently using.

To verify or change your current mouse button assignments, open Logitech G Hub and click on “Assignments” from the menu on the left side.

From there, you’ll see all the assignments for each button on your mouse.
If, for some reason, the DPI buttons are disabled or set to another function, simply click on G7 and G8 and choose “Use Default” to restore their DPI switching functionality.

Conclusion
We hope this guide has made changing your DPI settings a breeze. If you’ve found it helpful or have any feedback and questions, please don’t hesitate to drop a comment below. We’re always here to help and look forward to hearing from you!
We're an affiliate
We hope you love the products we recommend! Just so you know, gameraround.com is a participant in the Amazon Services LLC Associates Program, an affiliate advertising program designed to provide a means for sites to earn advertising fees by linking to Amazon.com.

