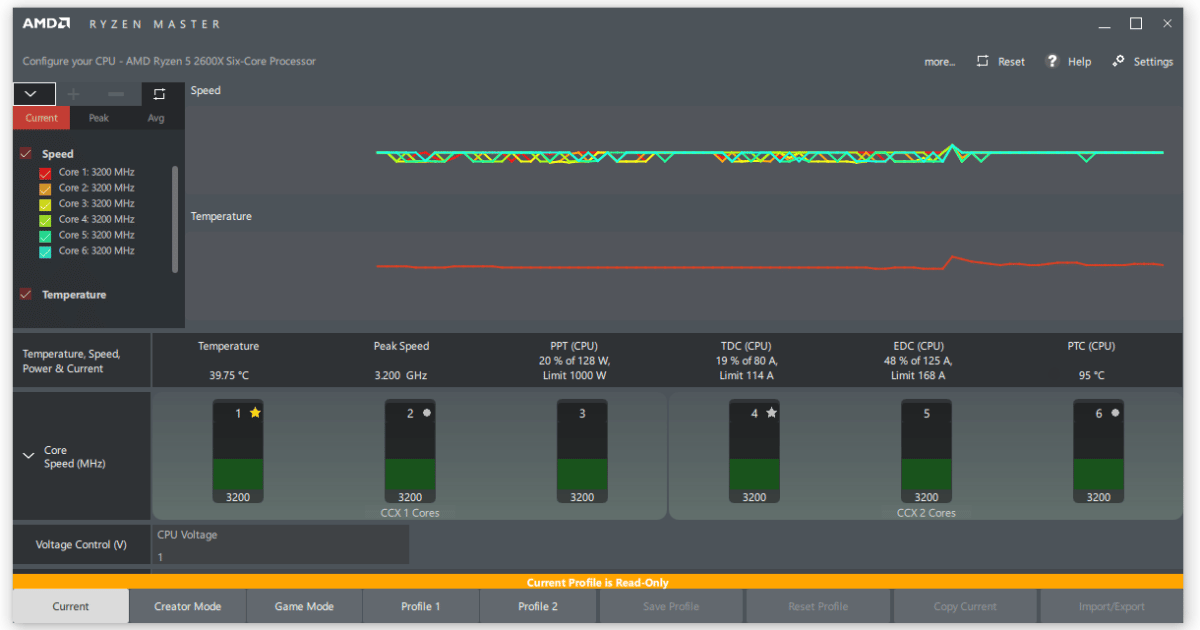
Recently, I faced a bug while using the AMD Ryzen Master software and decided to uninstall and reinstall it, hoping to resolve the issue.
However, I ran into a problem: Ryzen Master was nowhere to be found in the “Apps & Features” section of Windows, and there was no uninstall option in its installation folder.
After searching for a solution, I discovered two effective methods to uninstall the software.
In this article, I’ll walk you through two straightforward solutions to uninstall Ryzen Master, saving you the hassle and time. Let’s explore these methods together.
P.S.: Before we jump into the solutions, it’s worth double-checking the “Apps & Features” section on Windows. Sometimes, Ryzen Master might just be hiding in plain sight there. If you find it, simply uninstall it from there. If not, then the steps below are ready to guide you through the alternative methods.
Method 1: Using the Installation File
The first method is surprisingly straightforward. It’s so simple that I found myself wondering why I didn’t think of it right from the start.
Essentially, if you run the Ryzen Master installation file while the software is already installed on your system, the installation wizard will launch. However, instead of prompting you to install the software again, it will offer an option to uninstall it.
Here’s how it works: when you launch the installation file, it will show you something like this:

Then, a window will appear asking if you want to uninstall Ryzen Master.

All you need to do is to click on ‘Uninstall’, and then reboot your computer to complete the process.
Method 2: Using Command Prompt for Uninstallation
If the first method didn’t do the trick, don’t worry—there’s another way. This method is a bit more involved but equally effective, as I’ve personally tested it. Here’s what you need to do:
1. Open the Windows search bar and type “cmd” to search for the Command Prompt.

2. Right-click on the Command Prompt and select “Run as administrator” to open it with administrative privileges. Or simply click on Run as administrator on this option:

3. In the Command Prompt (a black window), type “wmic” and press Enter. WMIC stands for Windows Management Instrumentation Command-line, a utility that allows for administrative tasks.

4. Next, type “product get name” and hit Enter. This command lists all the installed programs on your computer.

5. Press CTRL + F to open the search function and type “Master” to find Ryzen Master in the list. The reason for searching instead of directly typing the command to uninstall Ryzen Master is that, in some instances, the software name might vary.
6. Once you’ve located Ryzen Master, copy its exact name. Then, type “product where name=”AMD Ryzen Master” call uninstall” replacing “AMD Ryzen Master” with the exact name you found if it’s different. This command initiates the uninstallation process.

7. You will be prompted to confirm the uninstallation by typing Y (for Yes) or N (for No). Type Y and press Enter.

8. You should see a message stating “Method execution successful” indicating that the uninstallation is complete.

And there you have it! Following these steps should successfully remove Ryzen Master from your computer.
Conclusion
I hope these steps have helped you successfully uninstall AMD Ryzen Master from your computer. If one of these methods worked for you, or if you encountered any challenges along the way, I’d love to hear about your experience.
Please feel free to leave a comment below sharing which method worked for you or ask any questions you might still have. Your feedback not only helps us improve but also assists others who may face similar issues.
We're an affiliate
We hope you love the products we recommend! Just so you know, gameraround.com is a participant in the Amazon Services LLC Associates Program, an affiliate advertising program designed to provide a means for sites to earn advertising fees by linking to Amazon.com.

