
Sticky keys can transform typing from a seamless task to a tedious chore, affecting both work and personal tasks. The good news is that the solution might be right in your own home.
Our guide walks you through easy, at-home methods to clean your keyboard and eliminate stickiness.
With practical steps that utilize common household items, you’ll be able to restore your keyboard’s functionality and enhance your typing experience efficiently.
Preparing for Cleaning
Essential Cleaning Supplies
To effectively clean and remove the stickiness from your keyboard, you will need specific supplies that are designed to tackle sticky residues without damaging your device. Here’s what you’ll need:
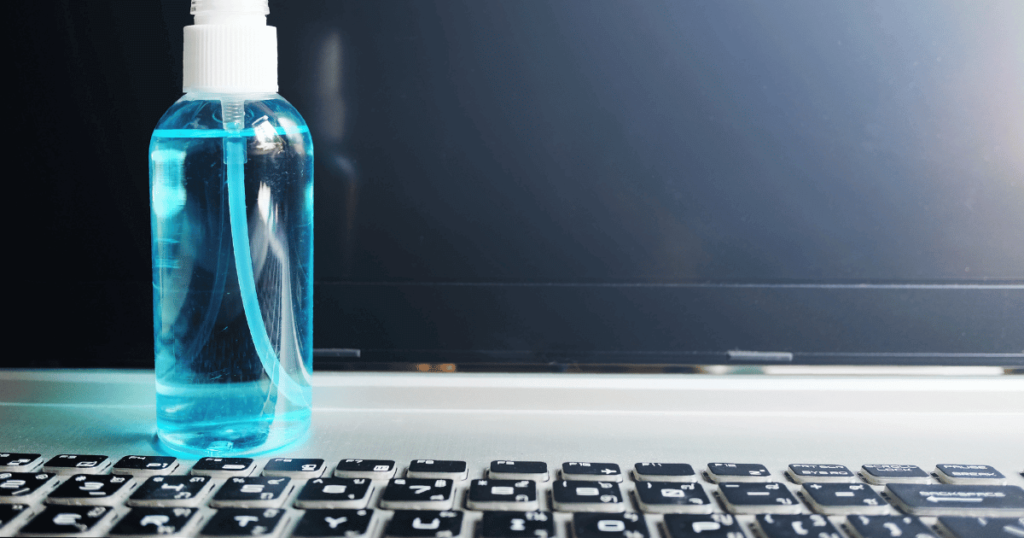
- Isopropyl Alcohol: Ideal for dissolving sticky residues, isopropyl alcohol (with a concentration of 70% to 90%) is effective and safe for use on electronic components. It evaporates quickly, reducing the risk of moisture damage.
- Soft, Lint-Free Cloths: Microfiber cloths are perfect for this task. They’re gentle on your keyboard and won’t leave behind lint or scratches. Use these to apply the alcohol and to wipe away dissolved residues.
- Cotton Swabs (Q-tips): These are essential for detailed cleaning, especially for reaching tight spaces around and under the keys. They can be used to apply isopropyl alcohol to specific sticky areas.
- Mild Dish Soap: In cases where isopropyl alcohol isn’t enough, a solution of mild dish soap and water can be used. This should be used sparingly and with caution to avoid excess moisture.
- Distilled Water: If you need to dilute the isopropyl alcohol or make a soapy solution, distilled water is preferable as it doesn’t contain minerals that can leave residues.
- Toothpicks or Plastic Picks: These tools can help in gently scraping off larger sticky substances that are not easily dissolved by alcohol.
- Compressed Air Can: Useful for blowing out any loose debris or particles before and after using liquids for cleaning.
Disclaimer: Before using isopropyl alcohol to clean your keyboard, it's important to note that certain keycap materials may react differently to alcohol, potentially leading to discoloration. To ensure the safety of your keyboard, we recommend testing the alcohol on a small, less visible area of a keycap first.
Safety Precautions
Safety is crucial when cleaning electronics. Here are some key precautions:
- Unplug the Keyboard: Always unplug your keyboard from the computer or turn off the wireless keyboard before cleaning. This prevents electrical risks and potential short-circuiting.
- Avoid Excess Liquid: When using liquids like isopropyl alcohol, make sure the cloth or swab is damp, not wet. Excess liquid can seep into the keyboard and cause damage.
- Gentle Application: Apply cleaning agents gently. Aggressive scrubbing can wear down key labels or damage the keyboard’s surface.
- Ventilation: If you’re using isopropyl alcohol or compressed air, work in a well-ventilated area to avoid inhaling fumes.
- Battery Removal: If your keyboard has a battery (like in wireless keyboards), remove it before cleaning.
Following these steps will ensure that you’re ready to clean your keyboard effectively and safely.
Cleaning Sticky Keys Without Removing Them

If your keyboard keys are sticky but you prefer not to remove them for cleaning, you can still effectively clean them with the right techniques.
Here’s a step-by-step guide to doing this gently and safely:
Surface Cleaning
- Turn Off and Unplug the Keyboard: Ensure safety by turning off your keyboard and unplugging it from your computer. If it’s a wireless keyboard, remove the batteries.
- Wipe Down the Surface: Start by gently wiping the surface of the keyboard with a dry microfiber cloth to remove loose dust and debris.
- Apply Isopropyl Alcohol: Dampen a microfiber cloth with isopropyl alcohol. Make sure the cloth is damp, not wet, to avoid excess liquid seeping into the keyboard.
- Gently Clean the Surface: Gently wipe the keyboard’s surface with the alcohol-dampened cloth. Focus on sticky areas, applying a bit more pressure, but being careful not to scrub too hard.
- Dry the Keyboard: Once the sticky residues are removed, use a dry microfiber cloth to wipe down the keyboard, ensuring no moisture is left behind.
- Let it Air Dry: Allow the keyboard to air dry completely before plugging it back in or reinserting batteries.
Between the Keys
- Use Compressed Air: Start by using a can of compressed air to blow out dust and debris from between the keys. Angle the can so that the air flows away from the center of the keyboard, pushing the debris outwards.
- Apply Cleaning Solution: Dip a cotton swab in isopropyl alcohol (or a mild soapy solution for tougher stickiness) and gently clean around and between the keys. Be careful not to let the liquid drip down into the keyboard.
- Tackle Tough Residues: For more persistent sticky spots, gently use a toothpick or plastic pick to carefully remove the residue.
- Final Wipe and Dry: After cleaning between the keys, give the entire keyboard another gentle wipe with a dry microfiber cloth and let it dry completely.
Following these steps will help ensure that your keyboard is not only clean but also free from stickiness, both on the surface and in the hard-to-reach areas between the keys.
Deep Cleaning Sticky Keys
For thorough cleaning of sticky keys, removing them is often necessary. This allows for more effective cleaning of both the keys and the keyboard itself.
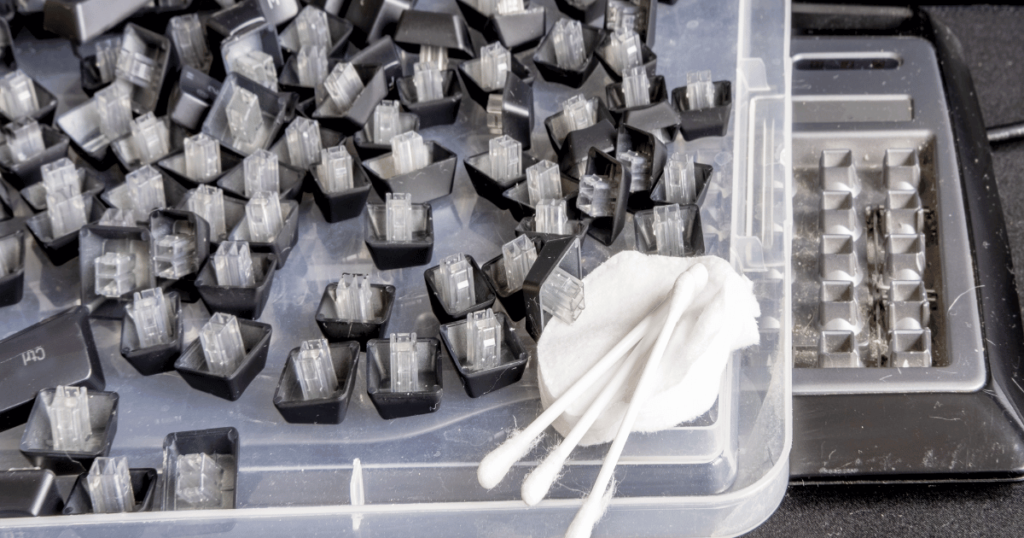
Removing Keys Safely
- Take a Picture of Your Keyboard: Before removing the keys, it’s important to take a picture of your keyboard. This will help you remember where each key goes during reassembly.
- Remove Keycaps using an Appropriate Tool: Use the keycap puller that often comes with your keyboard. If you don’t have one, you can carefully use your fingers or a flat tool like a screwdriver, applying gentle pressure to avoid damaging the keys.
- Organize the Keycaps: As you remove the keycaps, place them in an order that will help you remember their placement. You can also refer to the picture you took for guidance.
- Handle Special Keys with Care: Keys like the spacebar may have additional mechanisms like stabilizers or metal bars. Handle these keys delicately to avoid bending or breaking any parts.
Cleaning and Reassembling
- Clean the Keycaps: Soak the keycaps in warm, soapy water. Leave them for 30 to 60 minutes, then gently scrub them with a soft brush or cloth. Rinse them well and let them dry completely.
- Clean the Keyboard Base: Use compressed air to remove debris from where the keys were. Then, clean the area with a cotton swab lightly dipped in isopropyl alcohol, being cautious around any electronic parts.
- Ensure Everything is Dry: Make sure both the keycaps and the keyboard base are entirely dry before you start putting the keys back on. This may take several hours (at least 6 hours).
- Reassemble the Keyboard: Refer to your photo and begin placing the keycaps back on their switches. Press down firmly until they click into place.
- Check Key Functionality: Once reassembled, test each key to ensure they are functioning correctly and are in the right place.
Addressing Sticky Switches
When it comes to cleaning sticky switches in keyboards, the approach varies depending on whether you have a mechanical or membrane keyboard.
For mechanical keyboards, the method further differs based on whether the switches are hot-swappable or not.
Cleaning Mechanical Keyboard Switches
Hot Swappable Keyboards
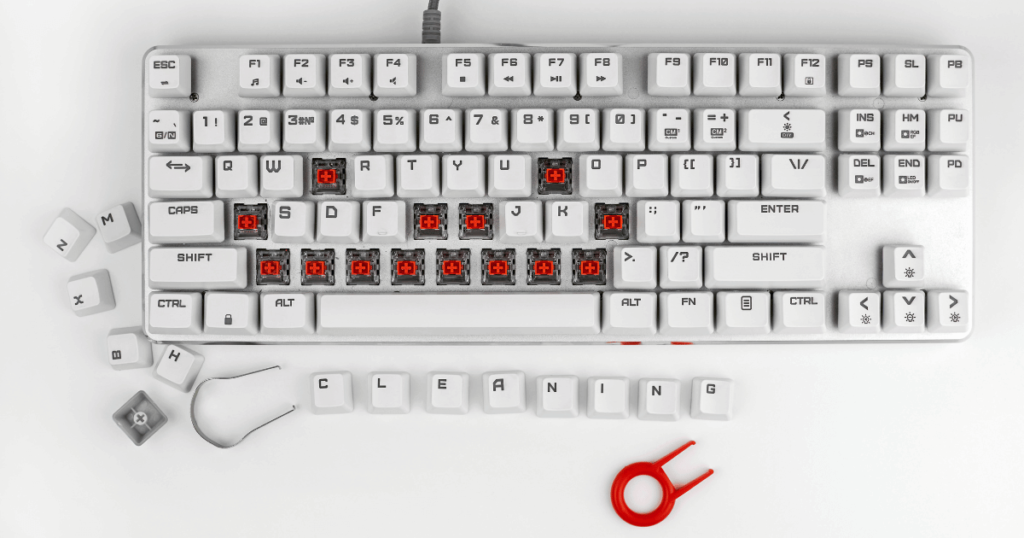
- Remove Keycaps: Start by removing the keycaps as previously described.
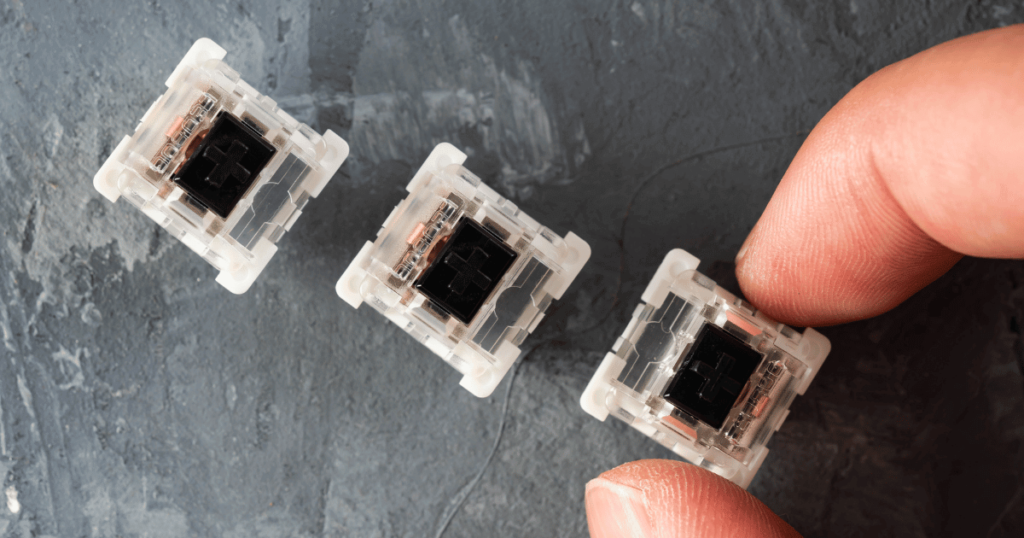
- Remove Switches: For hot-swappable keyboards, you can remove the switches themselves. Use a switch puller or gently pry them out with a small tool.
- Clean the Switches: Use a cotton swab dampened with isopropyl alcohol to clean the outer part of the switch. Avoid getting liquid inside the switch.
- Clean the Socket: Gently clean the socket where the switch was placed using a cotton swab with alcohol.
- Dry and Reassemble: Make sure everything is dry before reinserting the switches and keycaps.
Non-Hot Swappable Keyboards
- Remove Keycaps: Begin by removing the keycaps.
- Clean Around the Switches: Since you can’t remove the switches, use compressed air to blow out debris around them. Then, gently clean the top part of the switch and the surrounding area with a cotton swab dampened with alcohol.
- Check for Stickiness: Press the switch several times to check if the stickiness persists. If it does, a small amount of contact cleaner, applied sparingly, can help. Be cautious to use very little and let it dry completely. (You also can use this technique if your keyboard is double-typing).
- Dry and Reassemble: Ensure everything is thoroughly dry before putting the keycaps back on.
Cleaning Membrane Keyboard Switches
Cleaning the switches on membrane keyboards requires a gentle approach to avoid damaging the sensitive membrane. Here’s the revised method:
- Remove Keycaps: Carefully remove the keycaps. This can usually be done by gently prying them off with a flat tool or your fingers.
- Clean the Keycaps: Use a cloth or cotton swab lightly dampened with isopropyl alcohol to clean the underside of the keycaps, where sticky residues are likely to accumulate.
- Surface Cleaning: For the surface where the keycaps sit, gently wipe with a slightly damp cloth. Avoid using rubbing alcohol directly on the membrane.
- Dry Thoroughly: Make sure both the keycaps and the keyboard surface are completely dry before reassembly. Use a dry cloth to gently dab away any moisture and allow them to air dry completely.
- Reassemble the Keyboard: Once everything is dry, reattach each keycap, ensuring they are firmly in place.
- Test the Keys: After reassembling, test each key to confirm that they are functioning properly and that the stickiness has been resolved.
In both cases, the key is to be gentle and avoid using too much liquid, as it can seep into the switches and cause damage.
Conclusion
We hope this guide has been a valuable tool in helping you clean your sticky keyboard.
Whether it was a quick surface wipe-down or a more thorough deep clean, we’d love to hear about your experience.
Did your keyboard regain its former glory? Drop a comment below to share what type of keyboard you have and how long the cleaning process took.
We're an affiliate
We hope you love the products we recommend! Just so you know, gameraround.com is a participant in the Amazon Services LLC Associates Program, an affiliate advertising program designed to provide a means for sites to earn advertising fees by linking to Amazon.com.