
Are you looking to remove keyboard switches but don’t have the specialized tools at hand? No worries!
Our guide offers practical, easy-to-follow methods for safely removing keyboard switches without needing professional tools.
Whether you’re a DIY enthusiast or simply in a pinch, these techniques will help you accomplish the task with items you likely already have around your home.
Read on to discover how you can master keyboard switch removal, tool-free!
Disclaimer: Before attempting to remove keyboard switches using any of the methods described below, it is crucial to verify that you have a hot-swappable keyboard. If your keyboard is not hot-swappable, the only way to remove the switches is by desoldering them, which requires a different method. Please be aware that, while we have provided the best DIY methods for switch removal, these techniques come with inherent risks. We recommend proceeding with caution and considering the use of professional tools or services if you are unsure about the process.
Small Flathead Screwdriver
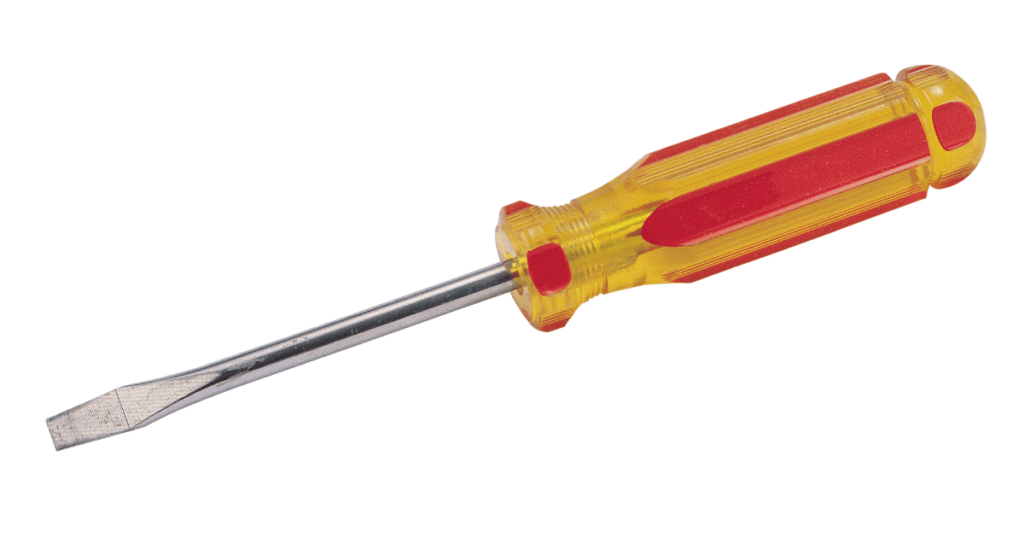
Using a small flathead screwdriver is a common and effective method to remove keyboard switches without a specialized tool.
The screwdriver’s thin, flat head can easily slide under the switch, providing the leverage needed to gently pry it off.
How to Use
- Select the Right Screwdriver: Choose a small flathead screwdriver that can fit comfortably under the switch without forcing it. The screwdriver should not be too wide or thick.
- Gently Insert the Screwdriver: Carefully insert the flat end of the screwdriver under the edge of the switch. Aim to get it between the switch and the socket, but avoid pushing it too far to prevent damage to the switch or the PCB (Printed Circuit Board).
- Apply Leverage: Once the screwdriver is in place, gently twist or pry up. The action should be slow and controlled to avoid jerking the switch out too forcefully, which could damage the switch or the keyboard.
- Remove the Switch: As the switch begins to lift, you can use your other hand to help gently pull it out completely.
Paper Clip
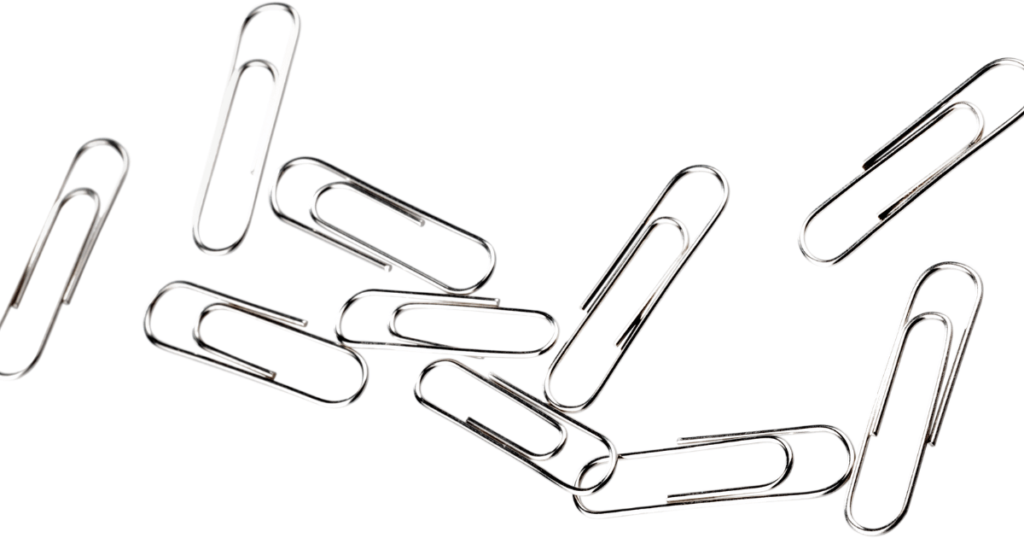
A paper clip, when used carefully, can be a handy tool for removing keyboard switches. This method is particularly useful when you don’t have access to a flat-head screwdriver. A paper clip is small, easily available, and can be shaped to fit under or around a keyboard switch.
How to Use
- Straighten the Paper Clip: Begin by straightening out a large paper clip. You need a straight section long enough to handle comfortably and a small bent end to work under the switch.
- Bend a Small Hook: At one end of the straightened paper clip, create a small hook. This hook should be small enough to fit under the switch but sturdy enough to provide leverage.
- Insert the Hook Under the Switch: Carefully insert the hook you’ve created under the edge of the keyboard switch.
- Apply Gentle Upward Pressure: Using the paper clip, apply gentle and steady upward pressure. The idea is to slowly leverage the switch out of its socket without using excessive force.
- Remove the Switch: As the switch starts to lift, you may need to adjust the angle or position of the paper clip to fully disengage the switch from its housing. Once it’s sufficiently loose, you can remove it with your fingers
Tweezers
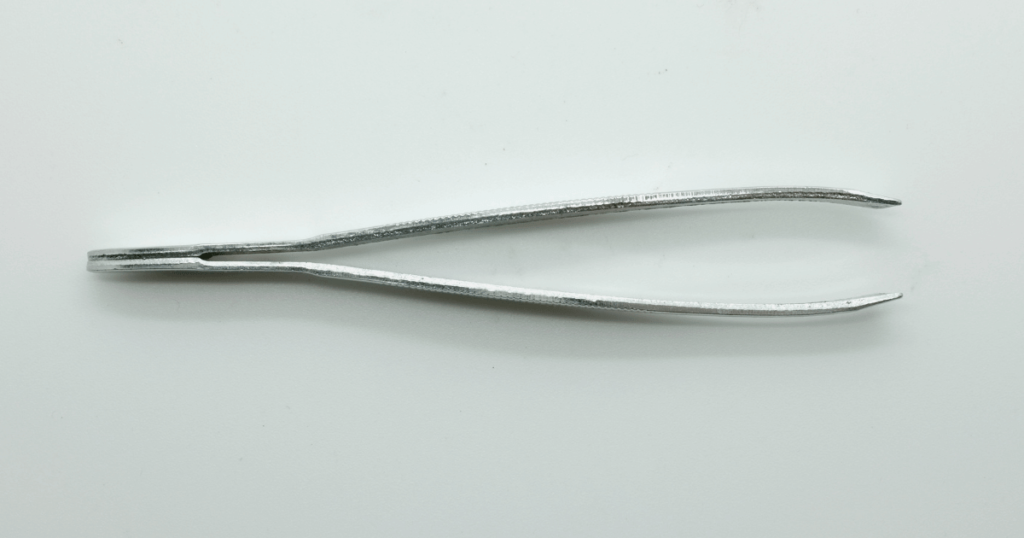
Next on the list is the Tweezers method, which is also an effective way of removing keyboard switches, especially if they are of the right size and shape.
This method is similar to using a paper clip but offers more control and stability, making it a good choice for keyboards with tighter switches.
How to Use
- Choose the Right Tweezers: Opt for a pair of tweezers that are sturdy and have a flat, wide tip. The tips should be thin enough to slide under the switch but strong enough to withstand the pressure.
- Prepare the Tweezers: If necessary, you can slightly bend the tips of the tweezers outward to create a better grip for the switch.
- Grip the Switch: Position the tweezers so that the tips grip the sides of the switch. Ensure the grip is firm but not too tight to avoid damaging the switch.
- Lift the Switch Out: Gently lift the switch straight upwards. The tweezers provide a steady grip, making it easier to evenly apply force and reducing the risk of damaging the switch or the keyboard.
This method, like using a paper clip, requires patience and a gentle touch. The main advantage of tweezers is their ability to provide a secure grip on the switch, which is particularly useful for switches that are more firmly seated.
Popsicle Sticks
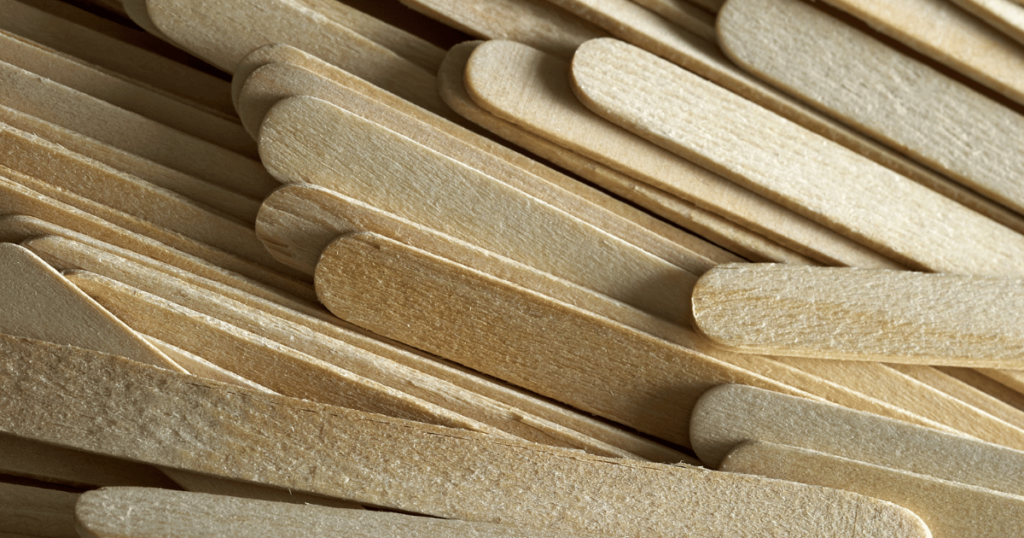
Popsicle sticks can be used as an innovative and gentle tool for removing keyboard switches. This method is somewhat similar to using a flathead screwdriver, but it offers a softer touch, reducing the risk of scratching or damaging the keyboard.
How to Use
- Prepare the Popsicle Sticks: Take a popsicle stick and cut it in half. The sturdier half will serve as your tool. You may need to shave or file down the ends to make them thin enough to fit under the switch.
- Create a Lever Mechanism: Just like using a flathead screwdriver, insert the thin end of the popsicle stick under the switch. However, the popsicle stick’s softer material provides a gentler way to pry the switch up.
- Apply Gentle Pressure: Use the popsicle stick to gently lever the switch upwards. The stick’s broader surface area can distribute the force more evenly, reducing the risk of damage.
- Lift the Switch Out: Once the switch starts to loosen, you can lift it out entirely, either with your fingers or by using the stick to further leverage it out.
This method stands out for its gentleness and the low risk of causing damage. It’s particularly useful for keyboards where the switches are not tightly fitted and can be easily levered out.
Combination of Methods
Using a combination of methods to remove keyboard switches can often be the most effective approach.
This strategy involves integrating techniques from the previously discussed methods—flathead screwdrivers, paper clips, tweezers, and popsicle sticks—to leverage their individual strengths.
How to Use
- Start with a Gentle Method: Begin with a less invasive method, like the popsicle sticks or the paper clip, to gently test how tightly the switch is fitted. These methods are less likely to cause damage.
- Increase Leverage If Needed: If the switch doesn’t budge with the gentler method, you can switch to the flathead screwdriver for added leverage. Use the screwdriver cautiously to initially loosen the switch.
- Fine-tune with Precision Tools: Once the switch is slightly loosened, switch back to the finer tools like tweezers or a reshaped paper clip for more controlled and precise extraction. This step is crucial for preventing any damage to the switch or the PCB.
- Combine Tools for Tough Situations: In some cases, using two tools together can be effective. For example, using a popsicle stick to gently pry up one side of the switch while using tweezers to pull it out from the other side can provide the right balance of force and control.
The key to successfully using a combination of methods is to start with the least invasive approach and gradually escalate to more forceful methods as needed. This approach allows you to gauge the amount of force required and minimizes the risk of damaging the keyboard or the switches.
Conclusion
We hope this guide has made your switch removal process smoother and more manageable, even without specialized tools.
Your success in this DIY endeavor is important to us, and we’re eager to hear about your experience.
Please feel free to leave a comment, sharing which method you chose and how long it took you to remove the switches.
We're an affiliate
We hope you love the products we recommend! Just so you know, gameraround.com is a participant in the Amazon Services LLC Associates Program, an affiliate advertising program designed to provide a means for sites to earn advertising fees by linking to Amazon.com.